


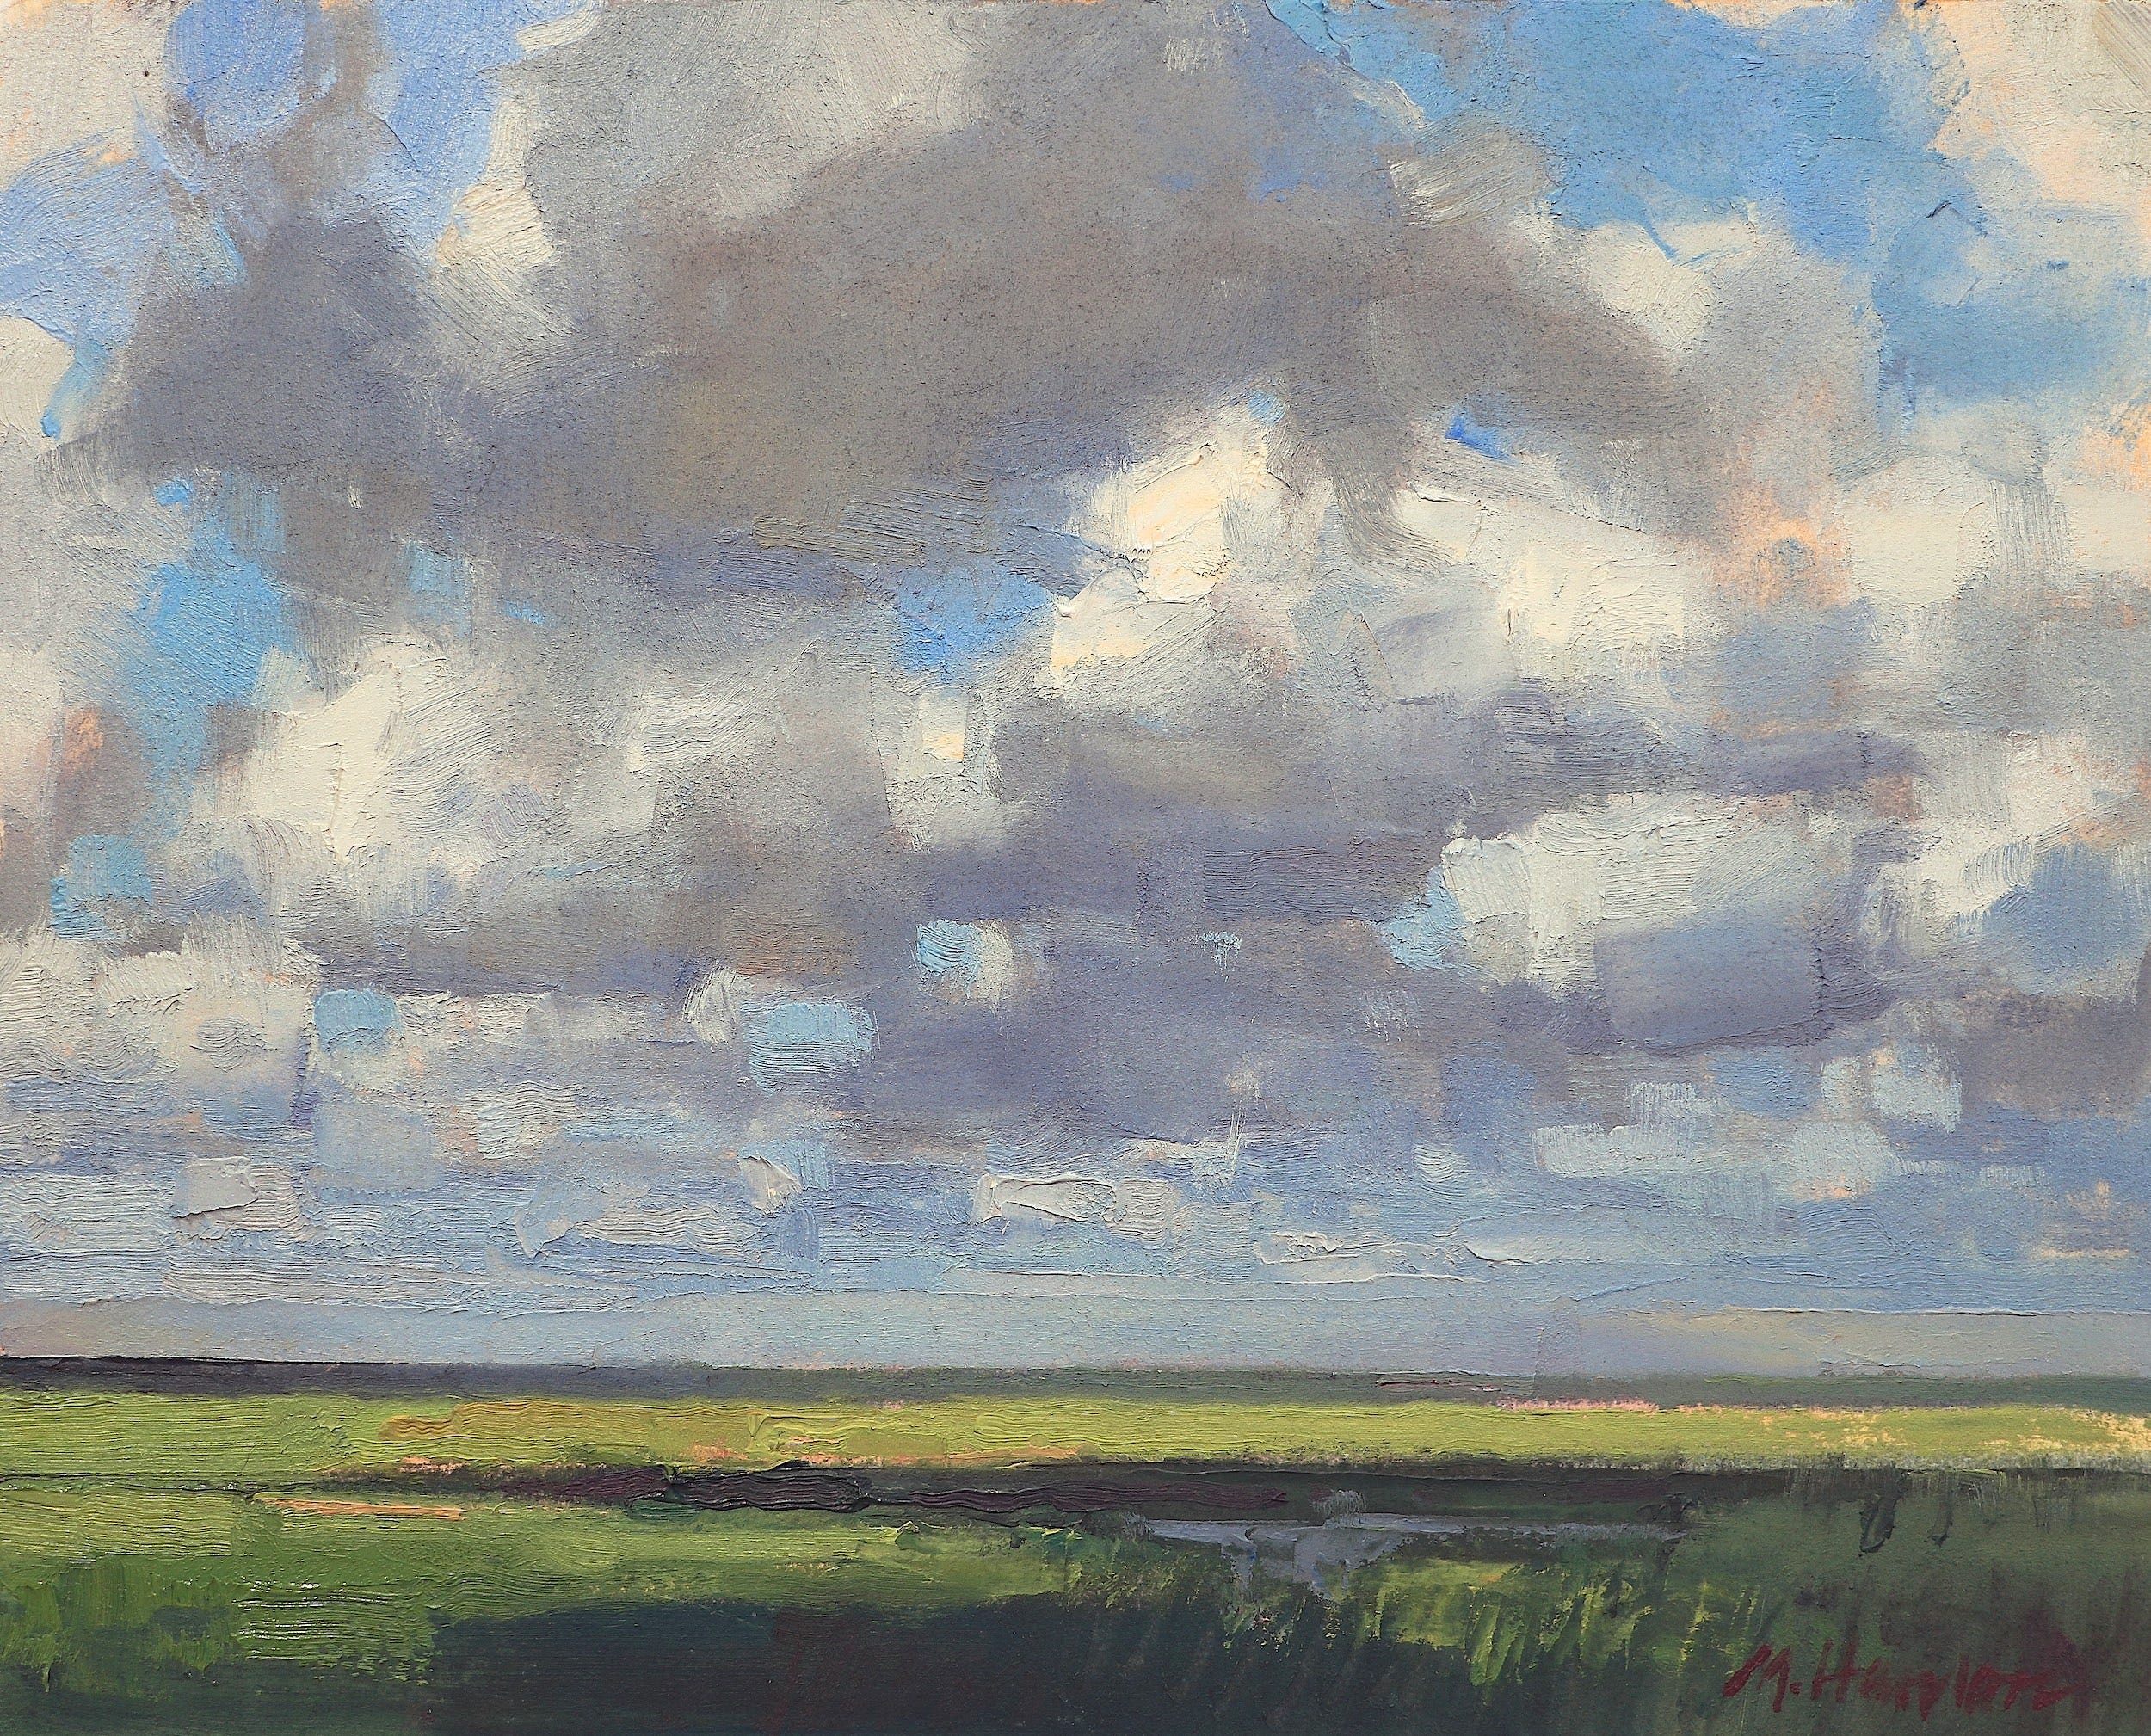
I finished sending the last segment of Demo 2 to the paid subscribers today. This is the finished piece that I videoed being painted. If you’d like to see these demos you can by becoming a paid subscriber. Thank you.
Here’s an off the wall idea for you to try, like if you’re looking for something to procrastinate with. We did this in art school as an illustration technique. If I can find a couple examples I’ll post them here. It’s a ‘resist’ method of creating an image. (Couldn’t locate the images. I may have to do one now to show you…)
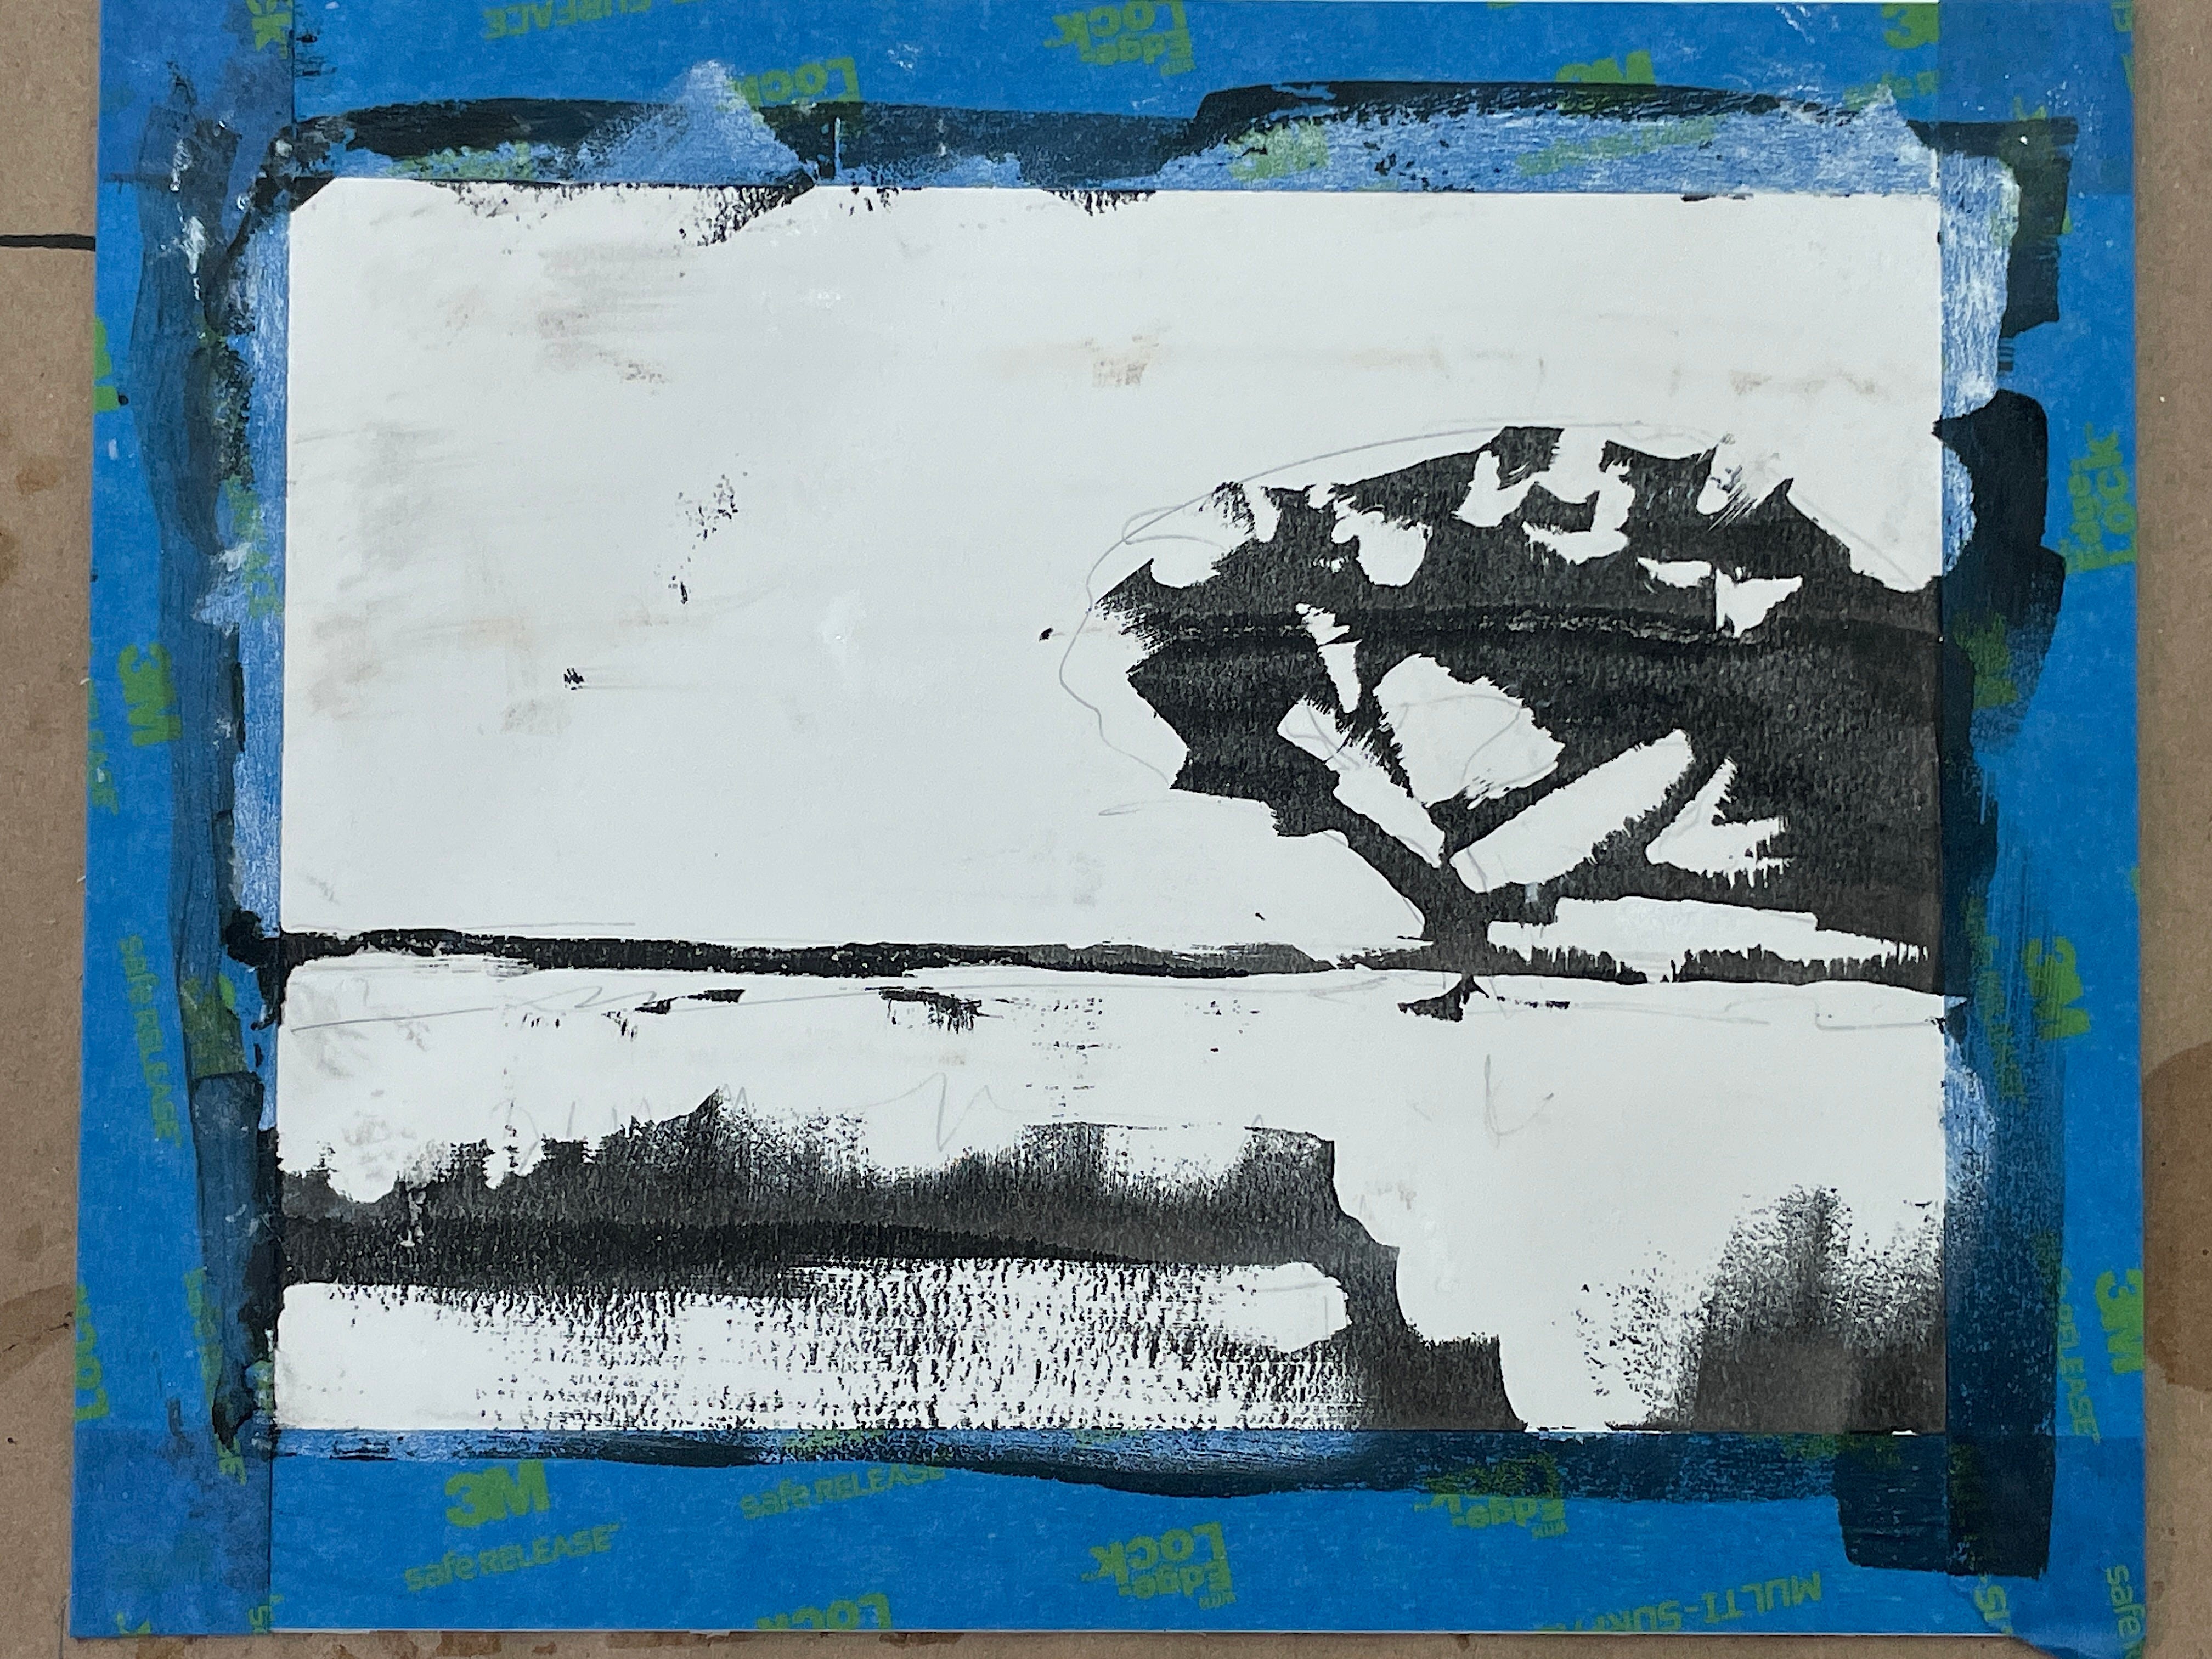
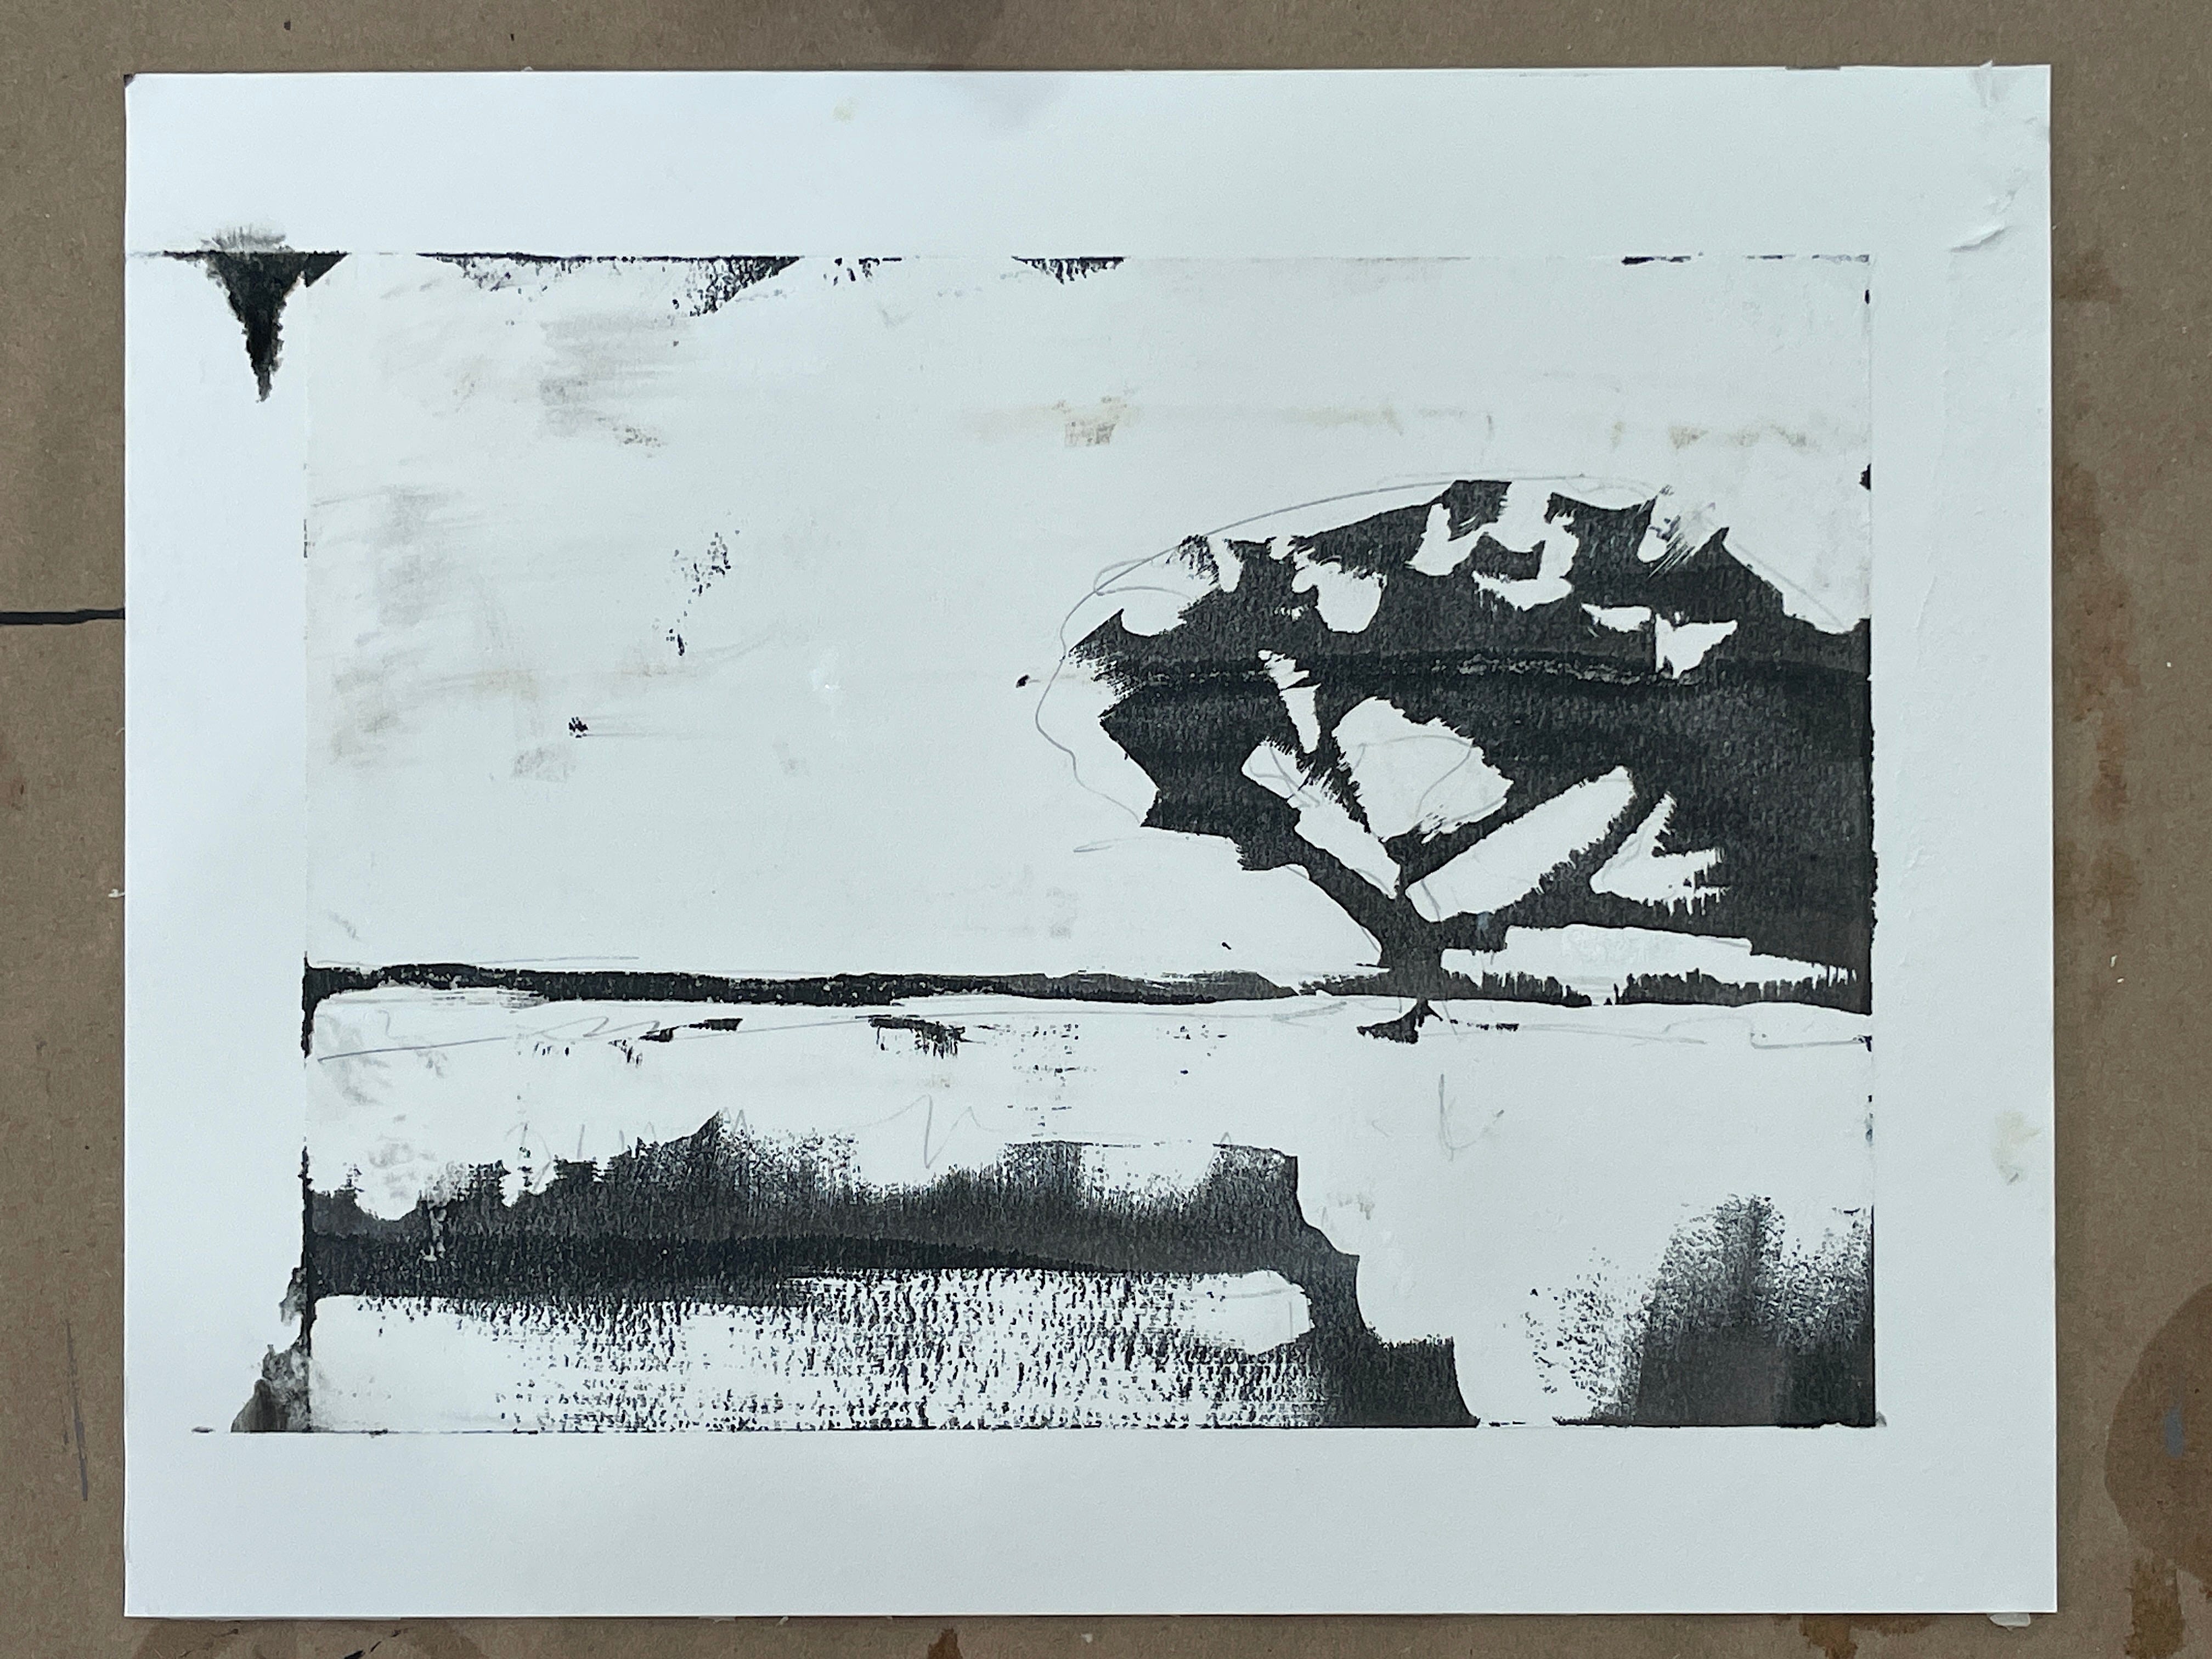
I DID A VERY QUICK, VERY SIMPLE ONE JUST TO SHOW YOU WHAT THE STEPS LOOK LIKE. TOOK ME ABOUT 25 MINUTES TOTAL. AS YOU CAN SEE YOU COULD TAKE THIS AS FAR AS YOU WANT TO. EVEN DOING MULTIPLE COATS OF GOUACHE AND INK TO CREATE MORE DETAIL. JUST CONSIDER THE GOUACHE AS YOUR MASKING FLUID FOR THE INK.
Supply list:
100% rag hot press illustration board
Black India Ink (must be waterproof India Ink)
Tube of Permanent White Gouache
Brushes, pencil to layout design
1/2” masking tape
Faucet and sink (it’ll get messy)
How to:
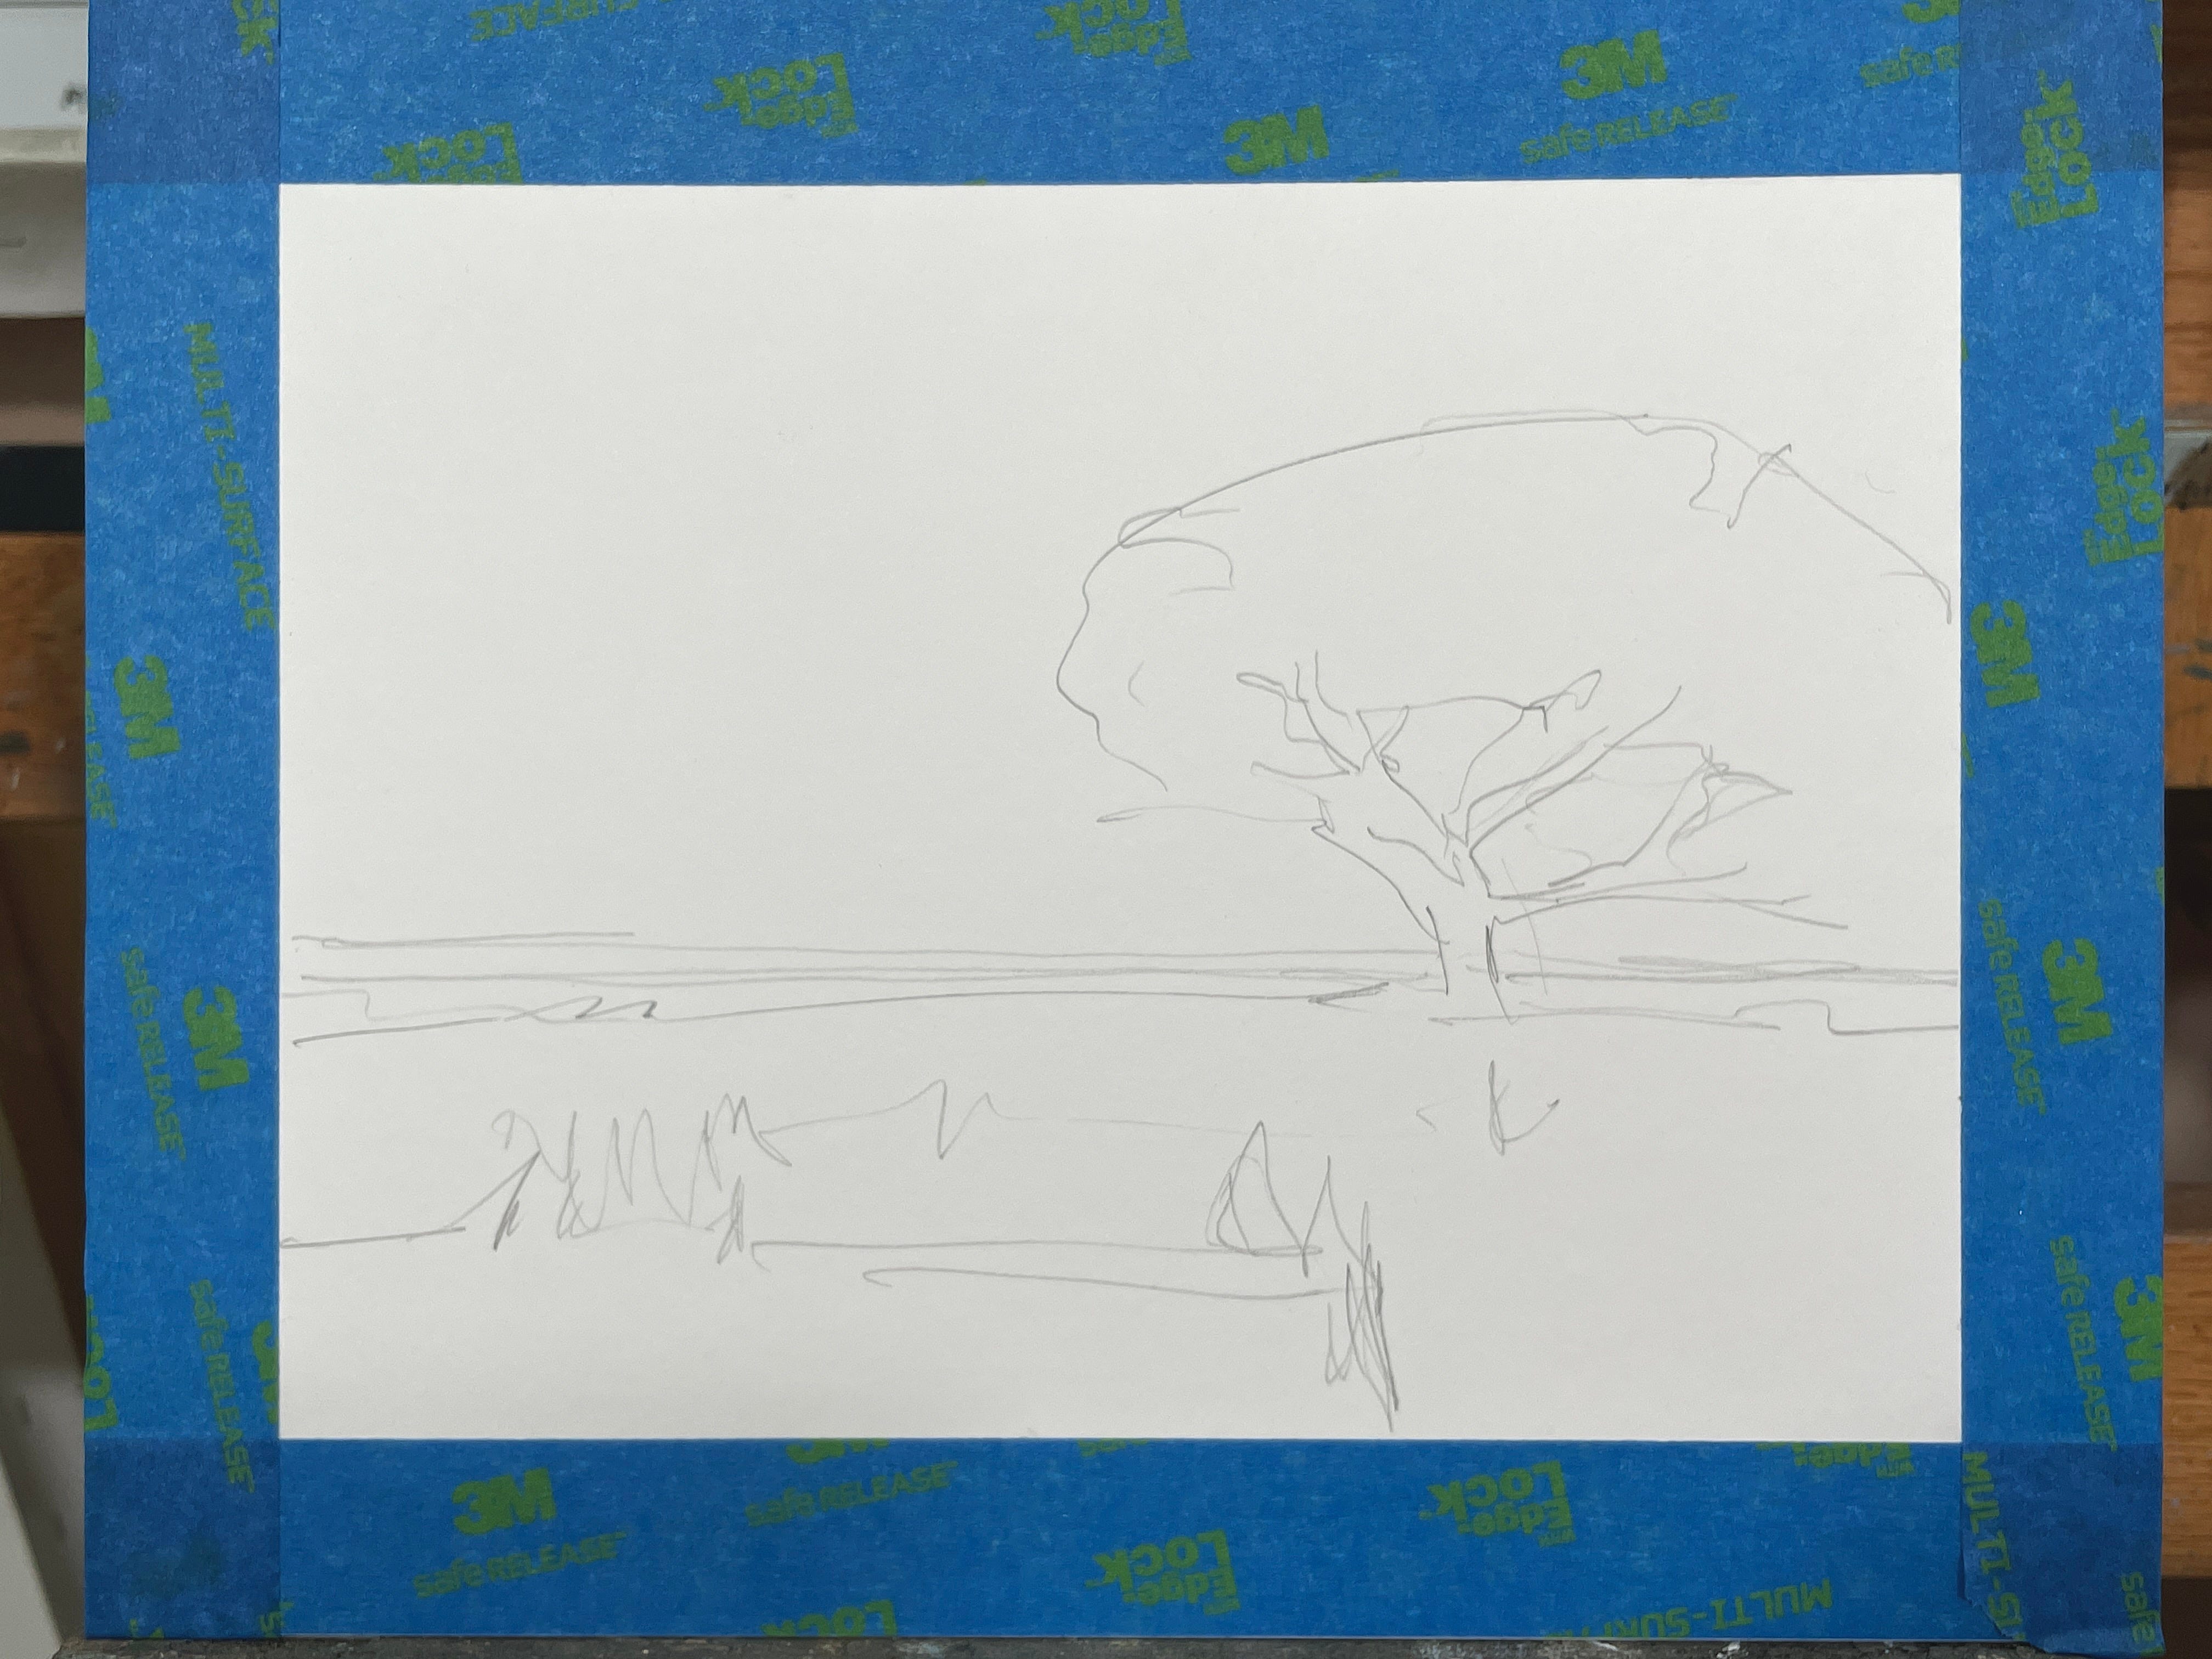
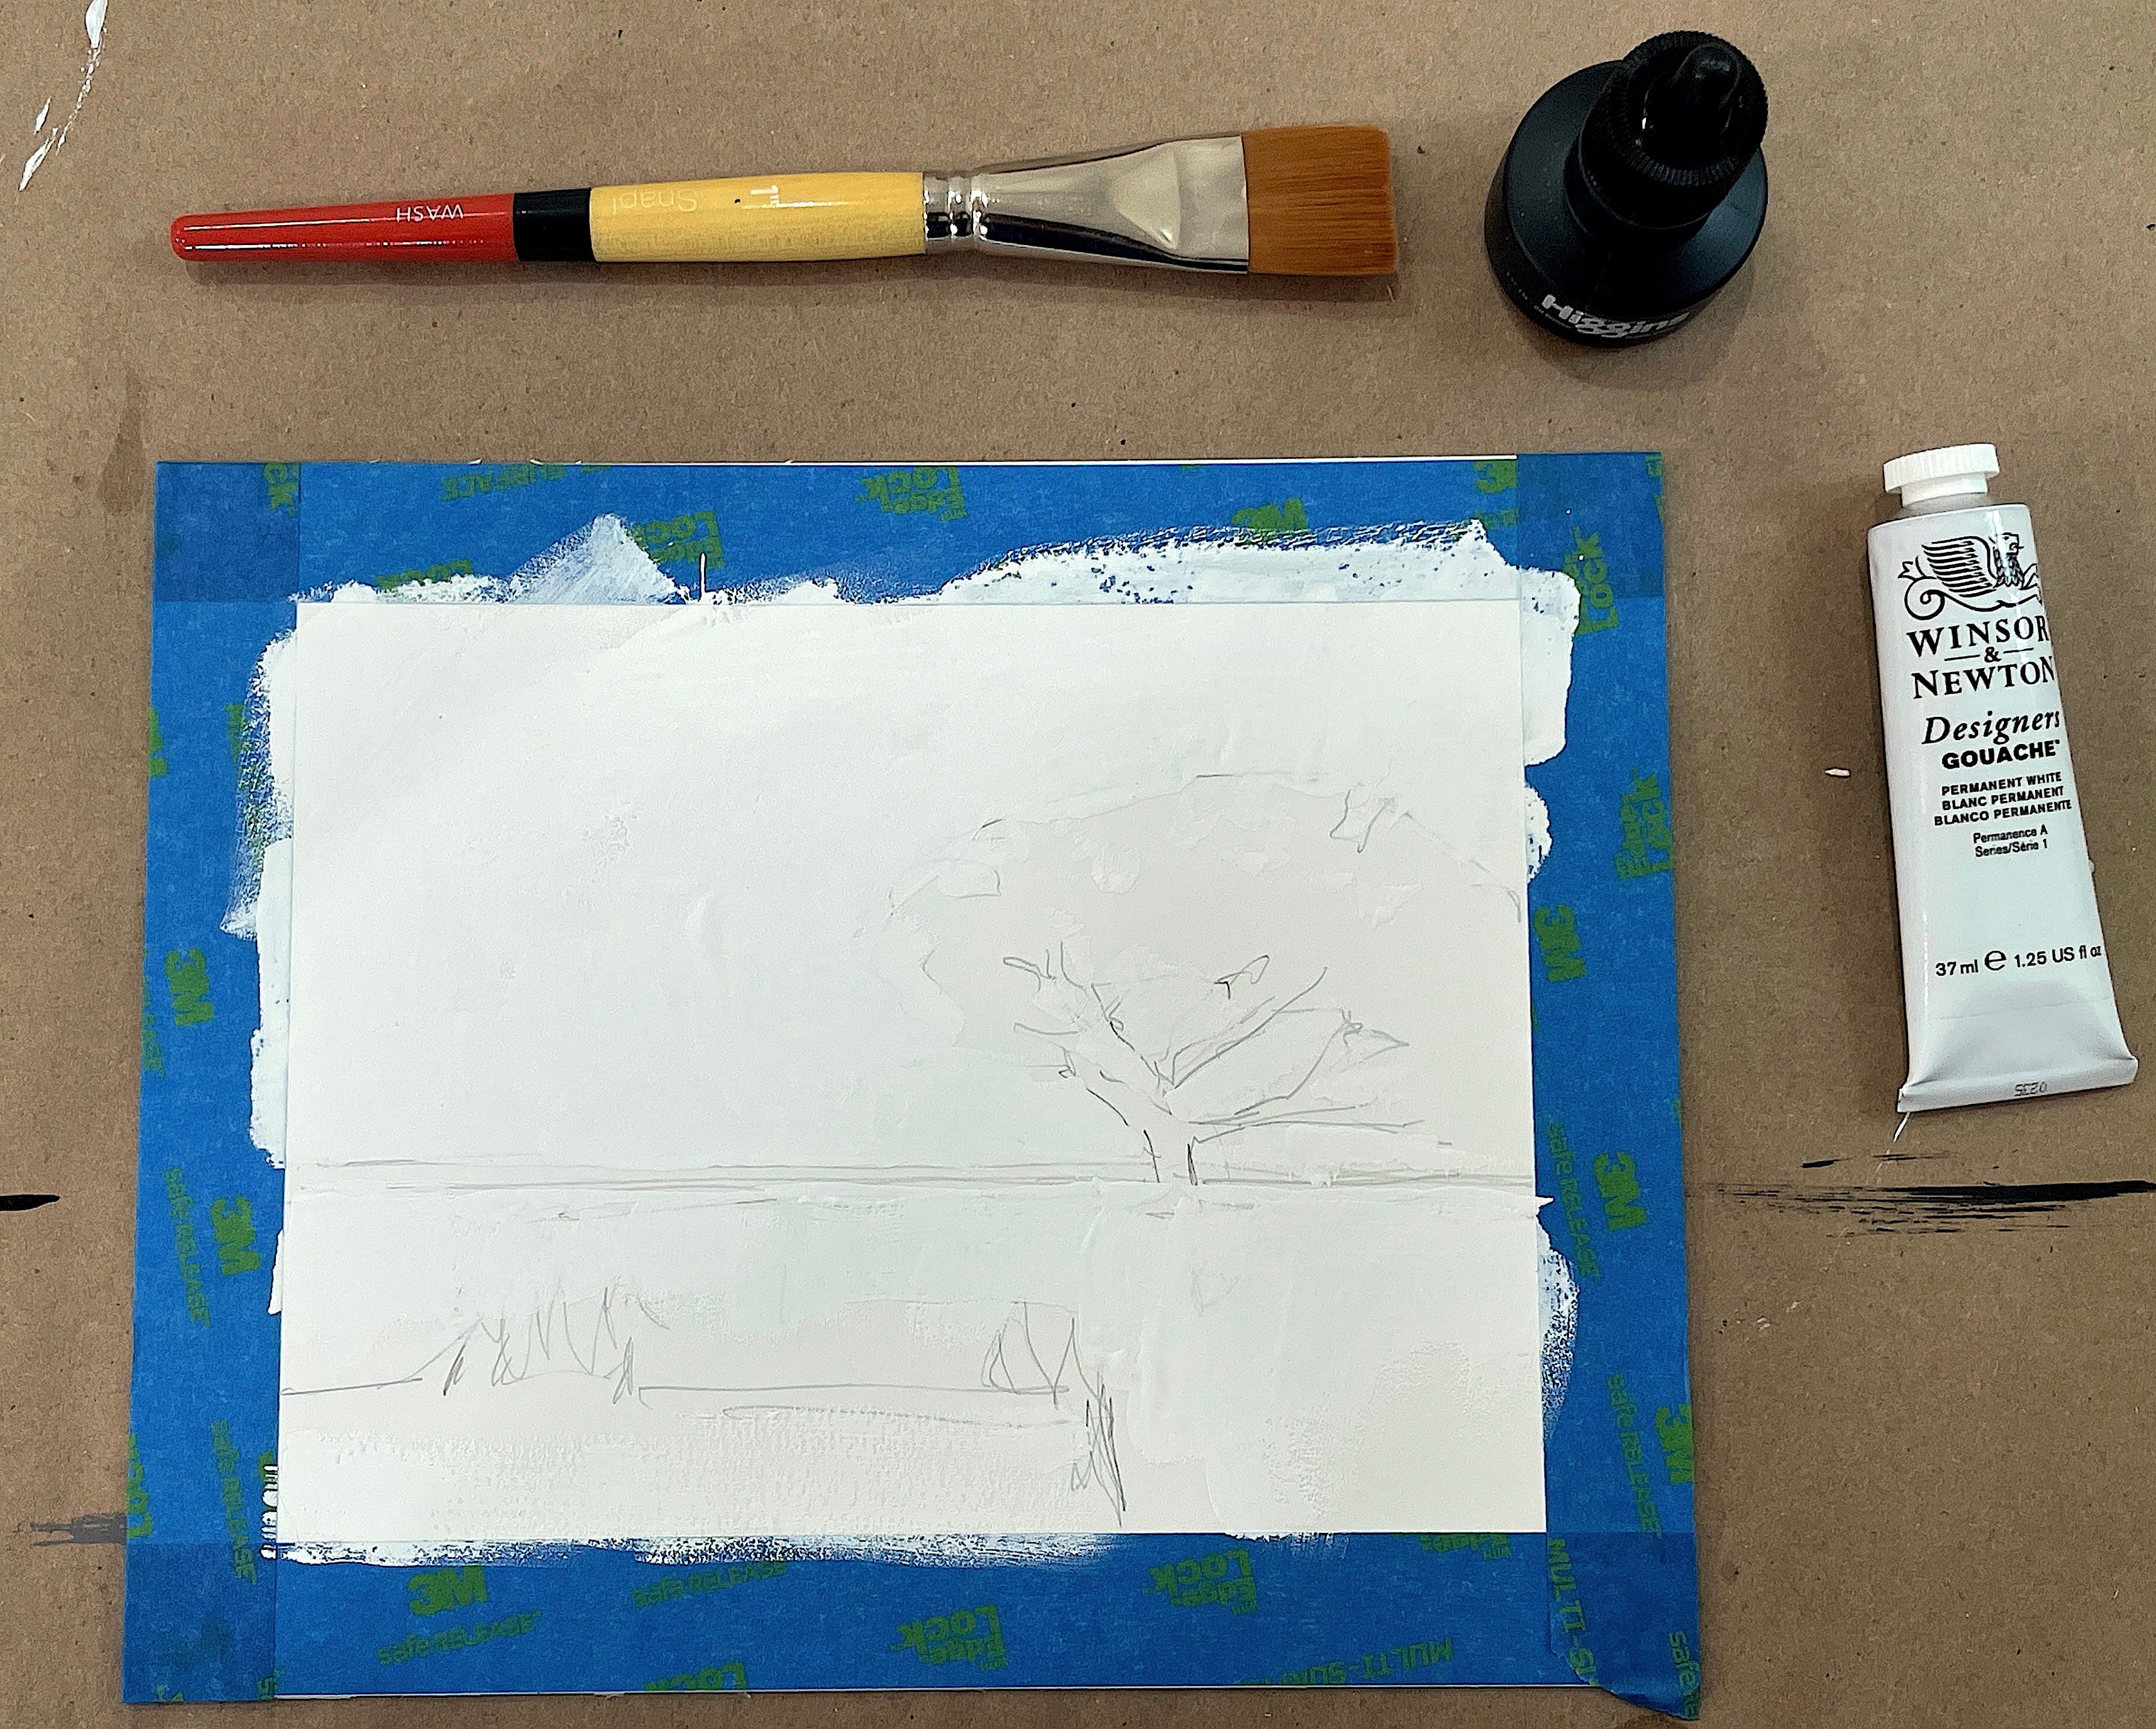
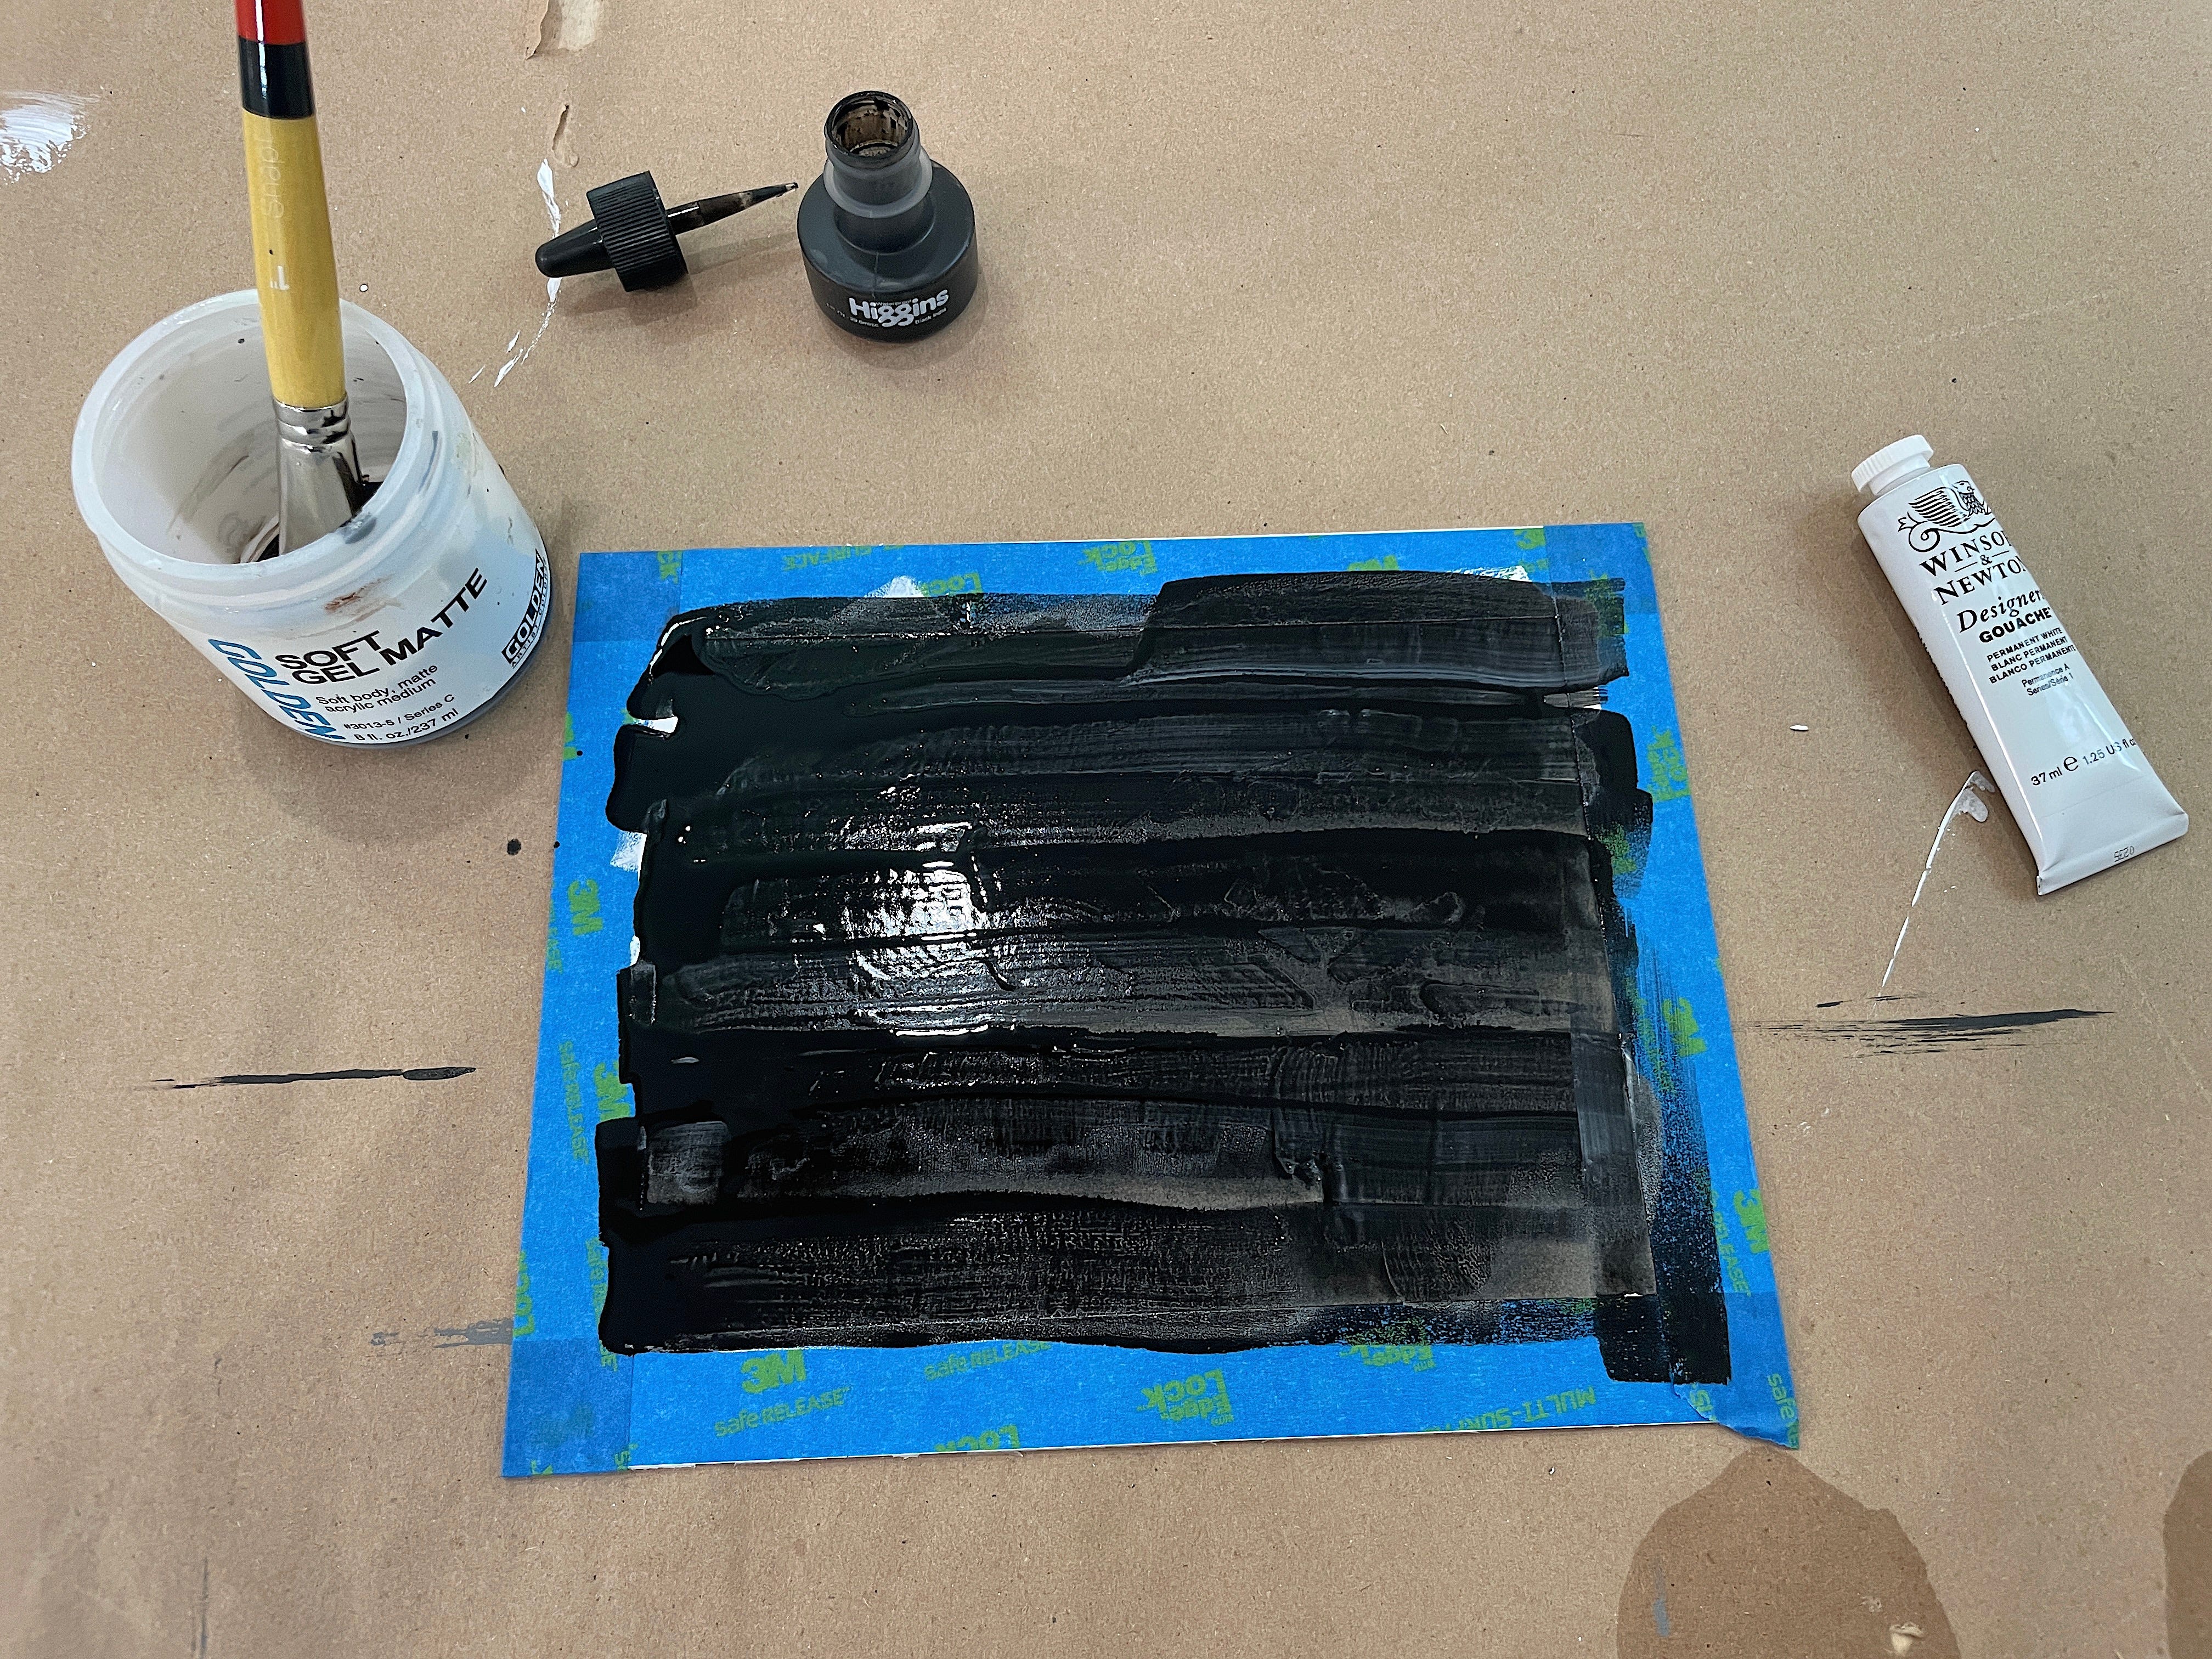
Make these fairly small to start with. Try an 8”x10” piece of illustration board and tape around the edges with the 1/2” tape so that you have a work area that is 7”x9”. Using a graphite pencil, draw out your design. Think Notan, separate shapes into light and dark, just black and white. Once you’ve penciled out a guide, use full strength White Gouache to paint out everywhere that you have a “light value”. Keep the paint opaque and thick. Let that dry until you’re sure it’s good and dry. Now use a wide flat brush to lay on a coat of undiluted India Ink. Let that dry. Once it’s dry, take the board to the sink and wash away the area where the gouache was painted on. You should end up with a drawing in black that looks very much like a block print or Notan sort of drawing. Once it’s dry, you can overlay transparent colors with inks or acrylic paint. As you will see, you could really take this to any degree of completion and complexity that you want to. I hope you try it out and post your examples here (not sure if that’s possible?) or on your Instagram page, and be sure to tag me so I can see what you did.
The Steps:
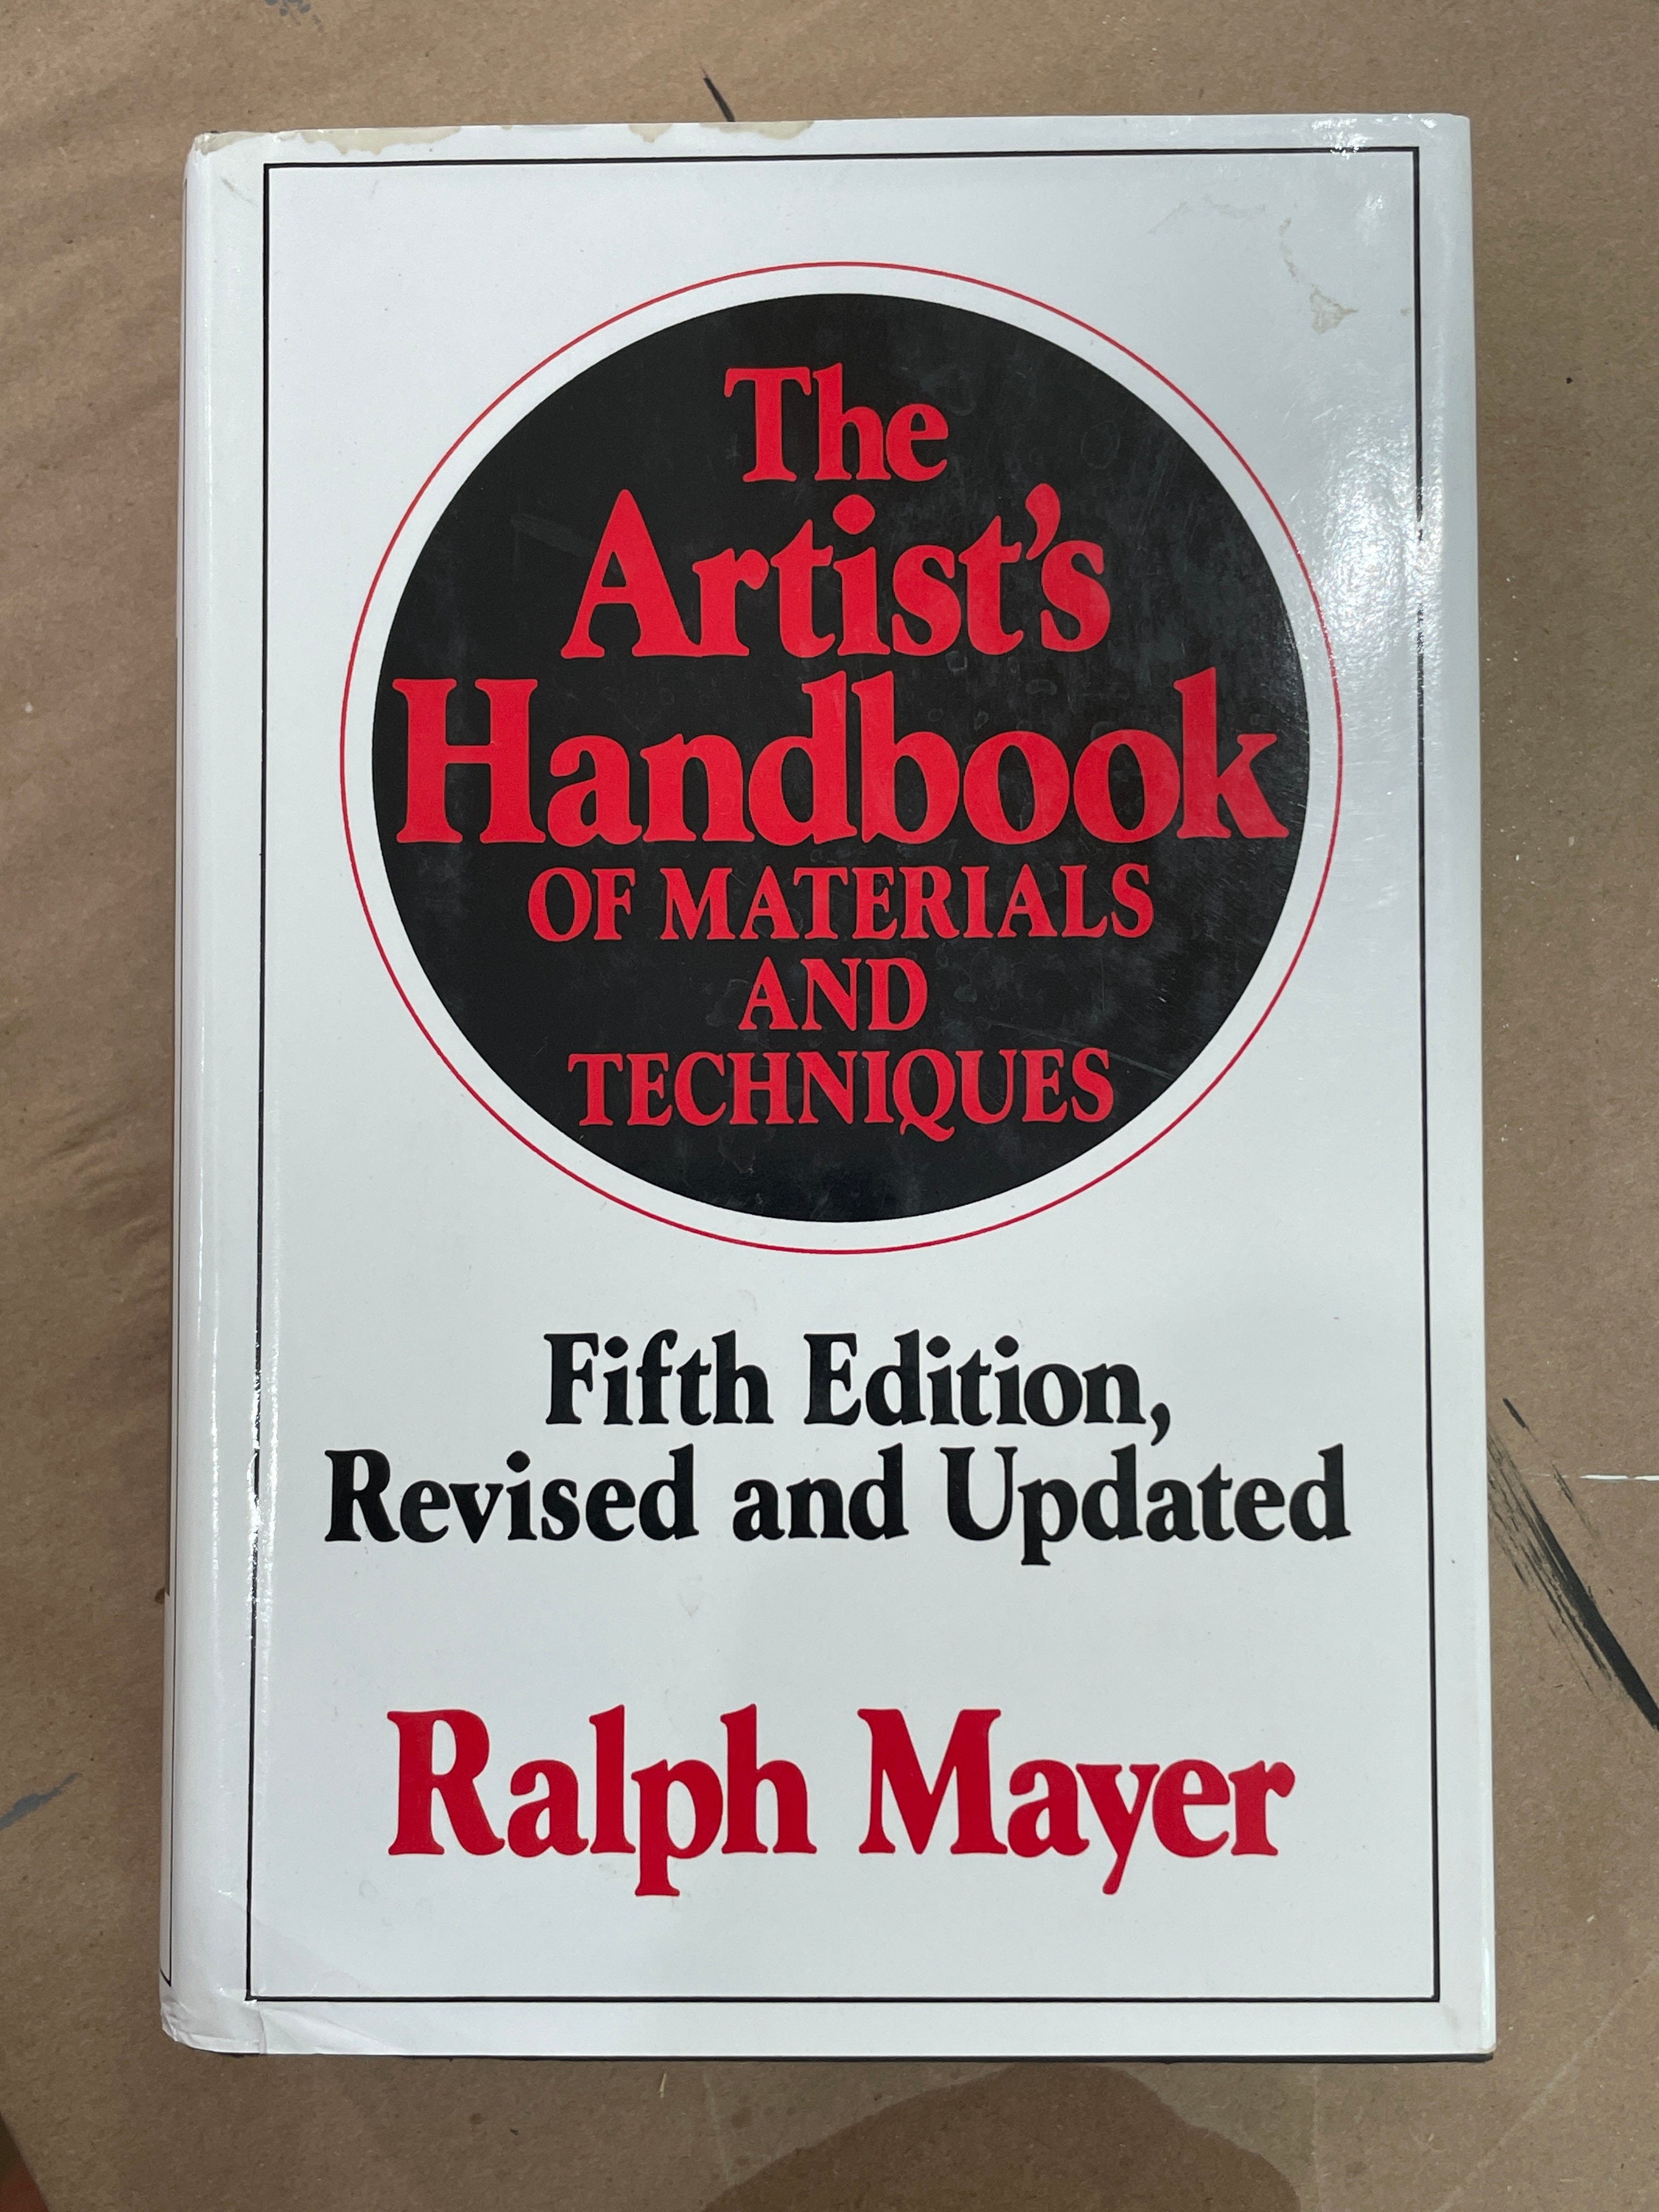
BOOK OF THE WEEK… I cannot imagine having grown up as an artist without having this book in my studio. This is the second or third one I’ve had, lost one, then it was updated once or twice. It has taught me about materials, techniques, supplies, the do’s and don’t’s of studio practices. I know that the resources on the internet are fabulous and make something like this almost obsolete. But when you’re mixing a formula of traditional gesso so that you can do that silver point that you've always wanted to try out, or about to make that oil/egg emulsion to paint with… this is your source. Check it out!
Cheers,
Marc
Marc your post inspired me to continue my abstract landscape painting. Working on it now. Happy Friday! Thank you for this blog. 😀😀😀😀
No joke here,
This week I was on YouTube researching this technique. I had seen it as a finished painting at an art fair and the artist described here technique..so thanks for the more clear tutorial. BTW the other artist said she used heavy white tempera as a resist..less $$ seemed to work well.
In appreciation.